How To Care For Your Blocks
Dirt, sand, and grime can accumulate in your blocks over time. To prevent this, the best sailors keep their gear clean and in tip-top shape. Let’s show you how.

Dirt, sand, and grime can accumulate in your blocks over time. To prevent this, the best sailors keep their gear clean and in tip-top shape. Let’s show you how.
Explore the ins and outs of ratchet blocks and how they work with Chuck Lob, Harken Senior Engineer. This is a follow up to our previous video: Ratchet Blocks Give Your Hands a Break.
Learn how to ease and tension your hiking strap to adapt to changing conditions quickly. Move just one knot and you can go from loose and a full hike, to tight and in-touch with the boat.
Bungee line is popular on dinghies for uses such as keeping hiking straps taught and tidying up lines. Installing bungee can be tough however, with knots often tightening too much or slipping out over time. Thankfully there is a great piece of hardware that is perfect for securing your bungee: a hog ring.
Hog rings are made of stainless steel and are designed to be pinched shut around whatever they are securing. Learn how to properly install your bungee line using a hog ring!
Learn how to finish a splice or tidy up the end of a line by tying a whipping. This video is a follow up to Making a 12-Strand Eye Splice. Whipping is an essential process for securing the tail of a splice and preventing any slippage over time. Watch and take note as Whitney Kent of Sheboygan Youth Sailing demonstrates this step-by-step process.
Splicing can often seem like a daunting skill to learn. When done well, it more closely resembles art than a functional rigging application. Everyone, however, needs to start somewhere, and the 12-strand eye splice is an easy first project to begin your splicing career with! Watch and take note as Whitney Kent of Sheboygan Youth Sailing demonstrates this step-by-step process.
Check back next week for our follow-up video on whipping, an essential process for securing the tail of the splice and preventing any slippage over time.
Check out this video for a few quick tips on upgrading your Opti boom vang.
The sprit halyard is one of the most important sail controls onboard an Opti. The more you can actively adjust the halyard tension to match conditions, the better your boat will sail. This is why it’s super important to have a low-friction system that’s easy to adjust while you’re sailing. Check out this video featuring Blockhead ambassadors Chapman and Jack as they install the key components to optimize Jack’s Opti sprit halyard.
Here is a list of the parts you will need for this project:


In search of awesome rigging upgrades for their Optis, Blockheads Jack Goggins and Chapman Petersen joined with professional rigger Olli Lubker for a trip to Harken World Headquarters one cold day in snowy Pewaukee, Wisconsin.
First on the list was upgrading Jack’s mainsheet to an interchangeable 4:1/3:1 “quick release” system. The goal of this system is to let you quickly switch from more to less purchase (or vice versa) without untying the line. It is one of the more popular upgrades in the Opti class and can be accomplished in several ways using a variety of parts and rigging methods. While we totally encourage you to experiment and find new ways to rig your boat, we’ve chosen to focus on this simple, effective method.
Watch the video for a step-by-step walk-through of the project. Here is a rundown of the key pieces of hardware you will need:

Harken 40mm Carbo Fiddle Block with Trigger Shackle
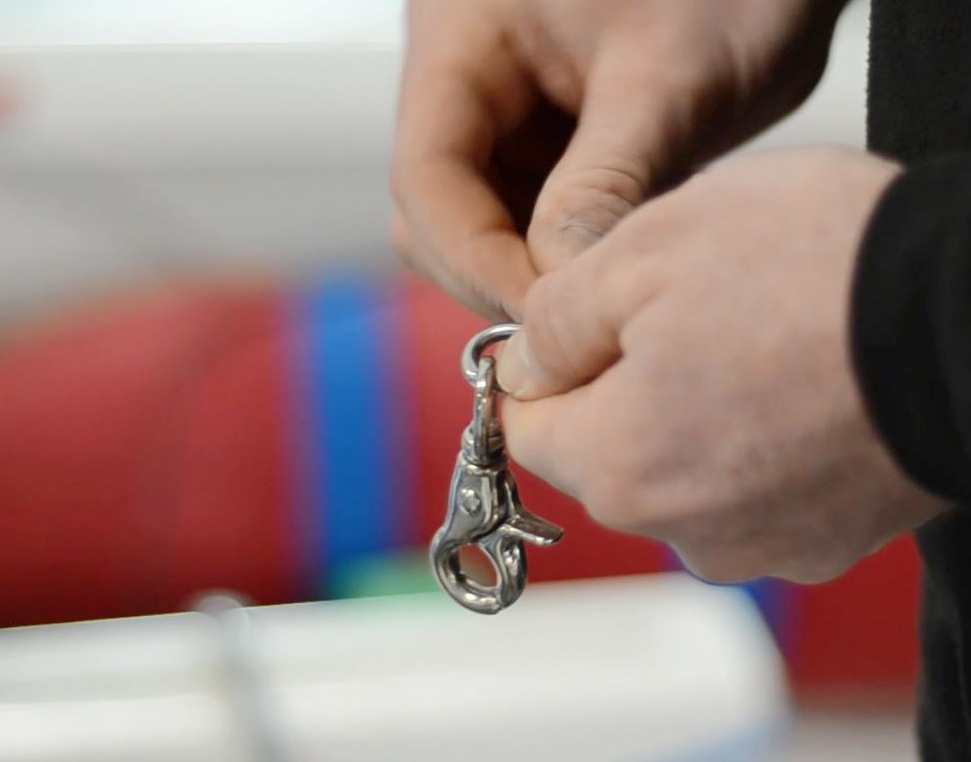
Trigger Schackle

Peter Harken first designed the now iconic six-sided Hexaratchet® block in 1971. With a 17:1 holding power ratio, this meant that the trimmer had only to exert one (1) pound of force to hold 17 pounds of load. This leverage provides much-needed relief when conditions are breezy. As Peter said, “(it) has made every ratchet block in existence obsolete including our old one.” Fast forward forty-six years and Harken Ratchet blocks are found aboard nearly every class of boat across the sport of sailing.
Learn about key features of Ratchet blocks from Matt Schmidt, Harken Product Manager for Small Boat blocks:
Header Photo: © Billy Black
Between campaigning for Tokyo 2020, working with the Magenta Project, or dropping into the J/70 circuit, pro sailor Maggie Shea always follows one simple tip to ensure your hardware a long and happy life!